INSTRUCTIONS - painting vehicle and sticking decals with clear coating.
(This guide is based on personal experiences. If you have your own suggestions, they may be very helpful for others. You may write your suggestions to: ebay@super-stickers.com).
I. Surface preparation
1. For ready painted objects - just sand them using sanding paste and grey Scotch pad. This paste works effectively, so this will take you 1..5 minutes. After that skip to chapter II (Sticking decals).
2. For raw surfaces that you will paint - follow steps below:
a) preparation: let all fillers ENTIRELY dry and shrink, when panels are flat, sand surface starting from 120 grit, then 220, 320 ending on 400 wet paper.

b) primer coat - when primer ENTIRELY dries - grit 600 wet sanding
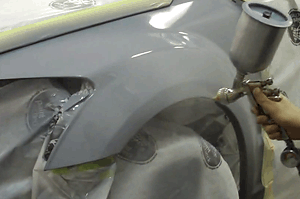
c) base (color) coat - primed surface clean, smooth and dry, apply medium coats until covered. 5 minutes between base coats.
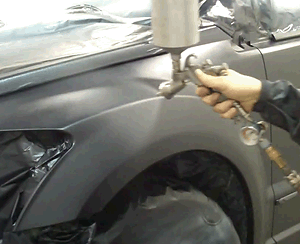
d) clear coat - 15 minutes after base coat, 15 minutes between clear coat layers. Two layers. Drying - at least 4 days.
![]()
e) matting clear coat - sanding paste or grit 1000 water paper
II. Sticking decals.
|
Caution! - Do not apply stickers on just varnished suface. Wait at least 4 days, as solvent evaporates, because gasous burbles may appear under the sticker. |
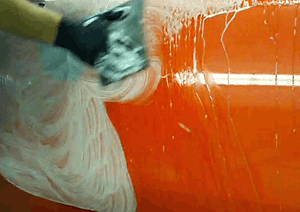
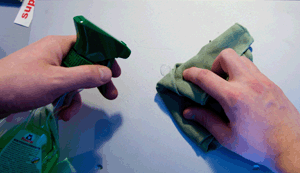
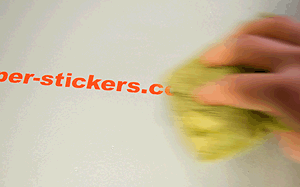
1. Clean target surface. Remove all dust and obstacles. Use lacquer compatible detergent that will leave chemically low contamination. Never use regular gasoline (it contains fat, which will disable stickers' glue). Mineral spirit is ok. Wash your hands to wash out your sweat.
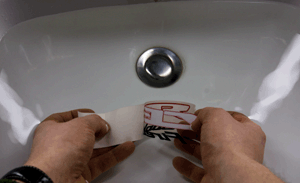
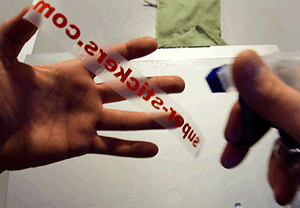
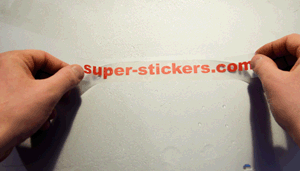
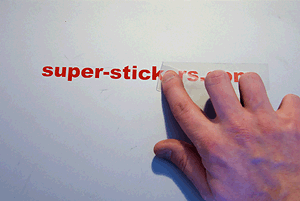
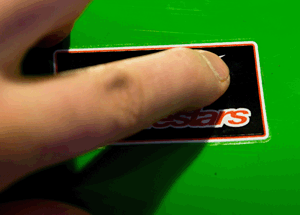
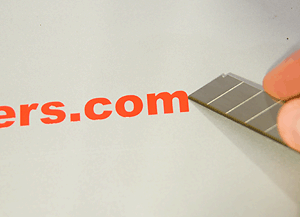
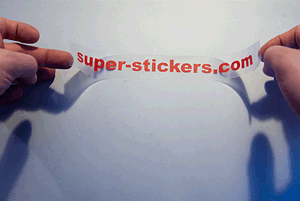
2. Unstick decal. Detach the application tape with all letters from underlay paper. Application tape is special low-adhesive foil (or low-adhesive paper) which helps to carry separated parts of the caption. In case the application tape isn't coming of with letters, help them carefuly with your hand to come off right. Unsticking angle should be 180 degrees from paper (flat). For regular single-layer decals, going without application tape, I recommend underwater detach technique. It softens paper and helps to avoid vinyl tear in acute outline angles . Remember, that transparent backgrounds won't accept fingerprints on the glue side - they will stay visible and look horrible. Detach the vinyl quickly after diping in water, because underlay paper will stratify and cause problems.

|
Caution!
While detaching the sticker from the paper, be extra careful with acute sticker's angles. Vinyl may tear in that corners. 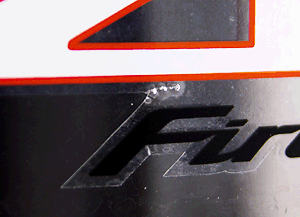 |
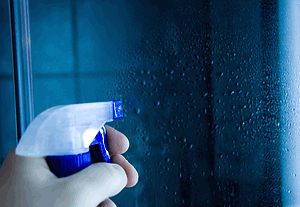
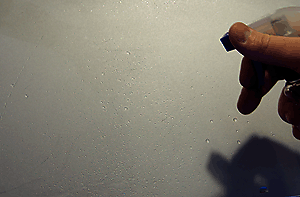
3. Spray sticker's glue side and the target surface with water mist. If you cannot use water, watch point 9 of this chapter.
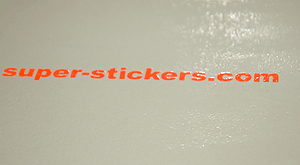
4. Put the sticker on the surface. Let it fall naturally.
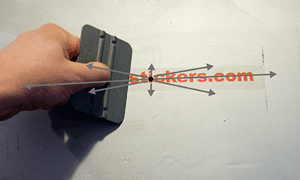
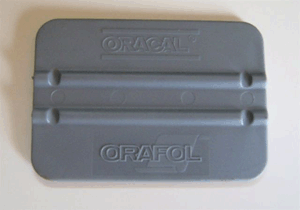
5. Squeeze out water from under the sticker. You may use your fingertip for normal stickers or special 3M/Oracal squeege for higher pressure on application tapes. Use high pressure but be very careful, because sticker may slide and rip, as there is still water under it. Always start squeezing out in the middle of the sticker then move to edge.
6. Let water mist evaporate from under the sticker. Time may vary. 24..48 hours. Longer=safer.
7. Remove application tape. Unsticking angle should be 180deg. Do this slowly.
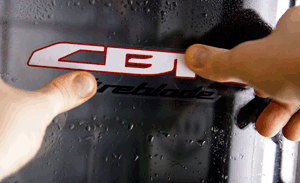
8. Remove air bubbles and defects. If air bubbles came to being, incise them at their edges and squeeze out. Air bubbles often appear at decal's edges. It's easy to remove them by slight levering up the border.

9. Dry sticking method. You don't have to use wet sticking method described above, though it's recommended. After pre-positioning stick decal on the clean surface. Do this carefuly, avoid making air bubbles. Do not strain the sticker while sticking on. Let it fall naturally. My advice is that you should start from sticking in the middle of the logo, holding at the edges in the middle of height, and then let the edges fall down gradually like it was a heavy sheet of steel. After that, press the sticker to and remove application tape.
III. Clear coating
1. Clean/degrease surface you will coat. Remove all dust and obstacles. Use lacquer compatible detergent that will leave chemically low contamination.
2. Clear coat. Three very thin layers. 30min. between coats. Thick layer or too much thiner may solve sticker. This would destroy all your previous effort, so be careful or even use sample sticker to determine varnish compatibility.
3. Drying. Until completely dry (a few days)
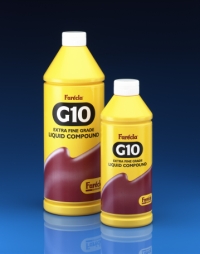
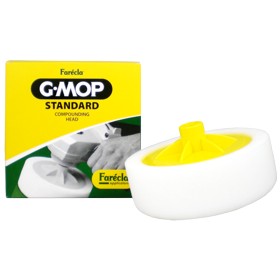
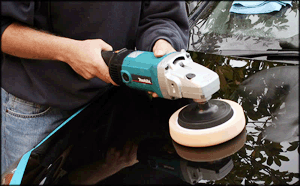
4. Polishing. Use Farecla G3 compound and farecla G-MOP or similar products. Use low amounts of G10 compound, constantly spray it with water (this is wet polishing). Do not exceed 1500RPM. Protect or disassembly all badges and plastic components of your vehicle, as spinning g-mop can melt them. Stop when desired gloss level is achieved.
Enjoy your new decals now :-D
Attention
Surfaces to which the material will be applied must be cleaned thoroughly of
dust, grease or any contaminants. Freshly lacquered or painted surfaces should
be allowed
to stand for at least three weeks after complete curing. The compatibility of
selected lacquers and paints should be tested by the end-user prior to use.
The statements in this information sheet are based upon our knowledge and
practical experience. This data is intended only as a source of information and
is given
without any guarantee and does not constitute a warranty. Due to the wide
variety of possible uses and applications, customers should independently
determine the
suitability of this material for their specific purpose, prior to use.